Use a proxy in Python with requests: video guide
A 0:59 screen recording with voice and captions: pick a country in the QuanticData endpoint generator, set the output format to the URL form that requests expects, generate and copy one line, then a short Python script that reads it from an environment variable, passes it for http and https and prints the exit IP and its country.
The long version in writing: How to use a proxy with Python requests: syntax, auth, rotation and pitfalls.
Chapters
Transcript
The captions of the video, line by line. Click a time to jump there.
- 0:00Use a proxy in Python with requests.
- 0:02Copy one line from your dashboard, and run a short script.
- 0:06Open your plan from My proxies.
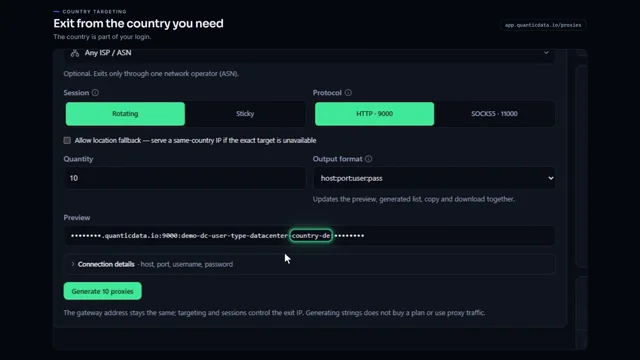
- 0:09In the endpoint generator, pick the country you need.
- 0:12It is written into the username, so your code stays the same.
- 0:16Keep Rotating for a new IP on every request.
- 0:20Set the output format to the URL form.
- 0:23That is what requests expects: login, host and port in one line.
- 0:28Generate one line, and copy it.
- 0:32In your script, read it from an environment variable.
- 0:35Pass it for both http and https.
- 0:39The request goes to our IP echo endpoint: free, with no API key.
- 0:44The script prints the exit IP and its country.
- 0:48Set QD_PROXY to your line, and run it.
- 0:53The full API reference is at quanticdata.io/docs.
Where to go next
Rotating or sticky, from one endpoint
Residential, mobile and datacenter proxies with country targeting, rotating or sticky sessions, HTTP or SOCKS5, built in the endpoint generator or over the API.
More video guides
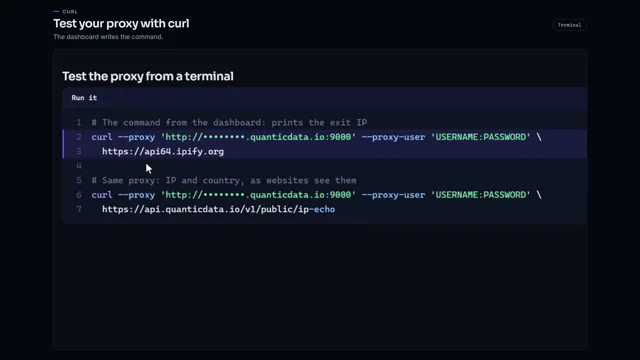 1:00Test a proxy with curlWatch the video
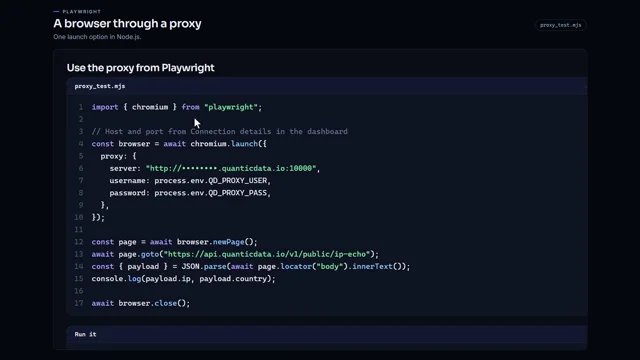 0:57Run Playwright through a proxy in Node.jsWatch the video
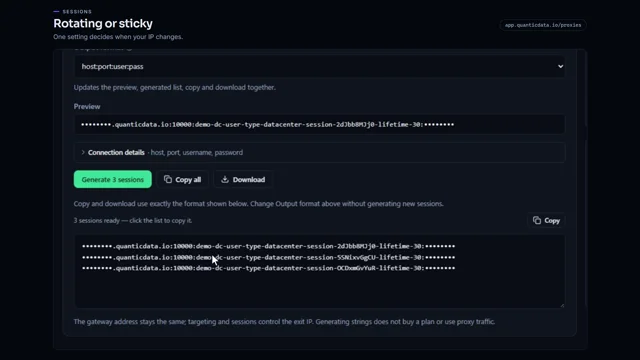 0:54Rotating vs sticky proxiesWatch the video
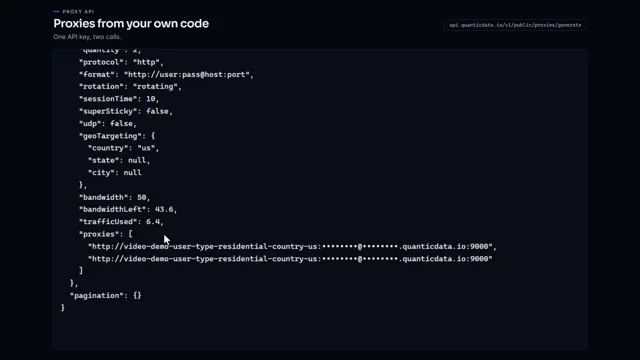 0:51Generate proxies from your code with one API keyWatch the video
 0:57Residential proxies quick startWatch the video
 0:56Proxy country targetingWatch the video